This is the first devlog post and it’s normal as it marks the beginning of my new websites.
History
Historically, I had a website online for mods (modifying a game) for Halo since 2007. As a kid, I’d always chase free hosting and domain names as if they were the holy grail. Over time, I started earning money, and I started renting both server and domain names, until this year.
This year, I decided to move locally. Meaning I’m not renting a server anymore, I’m owning a server. I figured that with the bandwidth of my connection, the amount of visitors on my websites and the fact that I’ve got a homemade NAS, hosting a webserver was the obvious next step and would reduce my hosting costs.
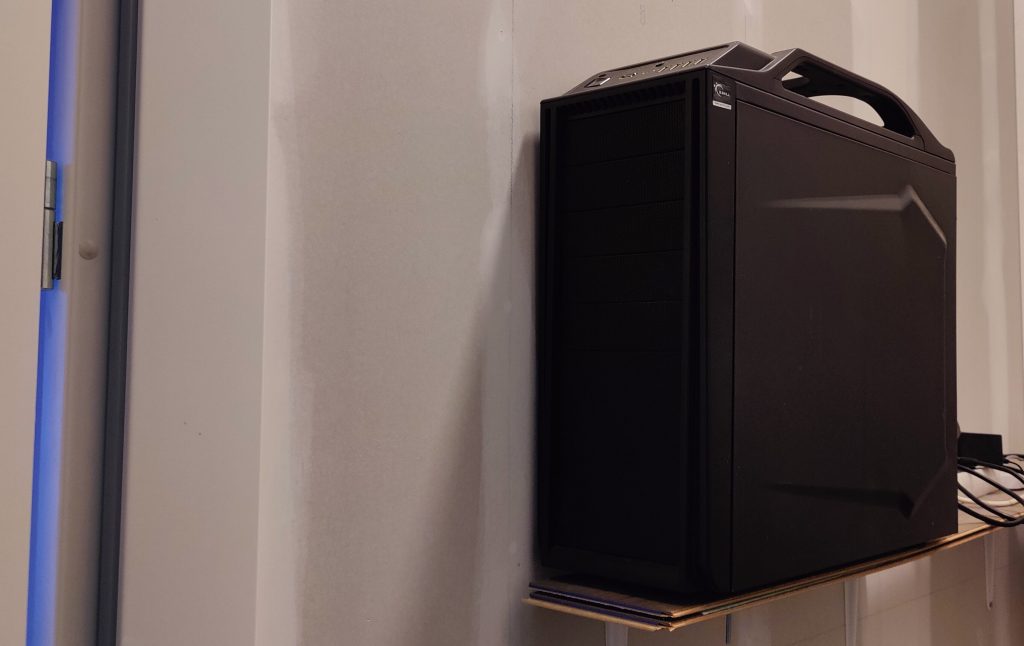
The website you’re seeing is located on this beautiful machine!
So, how and what did I do?
To enhance security, I created a virtual machine (a virtual computer on a real computer) to separate the use of the webserver from the other uses of my server. This way, each virtual machine is isolated and if a machine is hacked or infiltrated, the attacker only has access to this specific machine and service.
To run a Web server, I’ve decided to use the Ubuntu Server operating system because it was suiting my needs. I’ve considered other distributions such as Debian.
It was time for me then to learn a bit more about command lines and how to use Linux properly as I was not administrator of my own system!

Webserver, SSL and domain names
Learning Linux is easy as there is a lot of information available online. However, making a long-term choice with consequences you might not foresee is difficult.
The big decision I’m talking about is selecting a Webserver software. Ngnix (pronounced engine-x) or Apache? After reading a lot on the subject, I still found it difficult to decide. I chose to go with Nginx because it sounded more suitable for my use but mainly because I’ve never used it and It sounded challenging (it wasn’t). Also, Nginx is using Apache to run php, so all in all, I’m using both!
Therefore, I installed the webserver, created the prototypes websites and I worked locally.
To avoid downtime, I started to work on the local versions of my websites before the end of my server rental contract, and I used local domain names (local.glucas.xyz) to work on those. This was possible because I’m running Pi-Hole (and ad-blocking software) that also provides a local domain name server, great!
The last part I never handled before was the domain name setup and SSL certificate.
I used to rent domain names and hosting from the same company. This was easy and convenient. Turns out that doing it yourself is not so difficult or cumbersome.
I transferred my domain names, added the necessary records and in less than 30 minutes I was set.
On the SSL certificate side, I installed Certbot, added my domains and I was done!

The Nginx robot is as happy as I am with my server!
Migration
I’m always concerned about migration. It sounds like an easy task, download your site, upload it to the new server, and done. However, I always encountered some issues, specially because I’m using WordPress and I didn’t want to use a plugin for data migration.
I only had to migrate my photo website (guillaumelucas.com) as my game website was outdated (last content posted in 2018…). I usually follow this process with WordPress: I install a new, fresh version on my new server, add the content (theme, library, plugin). Then I import my previous database, and hopefully, it works (I’m always waiting for the plugin or theme error).
But this time, my site was displaying a generic error, and I couldn’t find the root cause. So I went another way. I only exported the post, page, and library content of my website from the database. After some troubleshooting, it finally worked; I encountered the problem when I expected it!
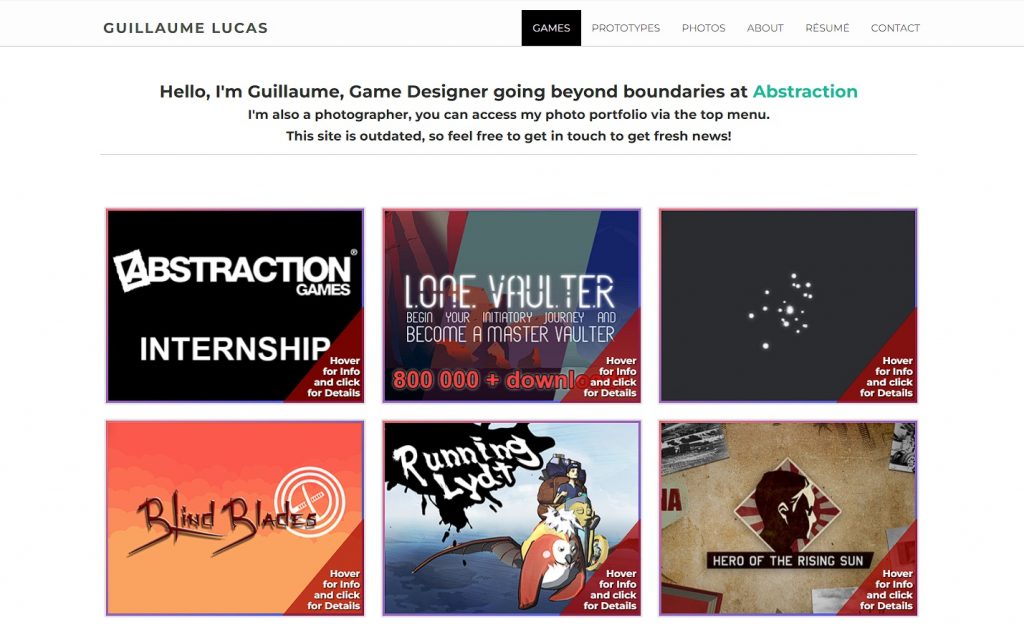
My good old website that stayed in this state for years.
Building a new website
This game website was so outdated, I wanted to rebuild it around a new concept. I decided it should no longer function solely as a game portfolio. and instead be a sharing space as well as a way to promote myself. It became this blog – portfolio thing.
I don’t like making websites, at least from scratch, reinventing the wheel… So I like WordPress. I like how it works, the plugins, the themes. But what I like even more, is that I can modify it to look and feel exactly as I want to. In less than a week of work, I’m all set, and I hardly need to make any changes to the system again! (Until I rebuild my websites…)
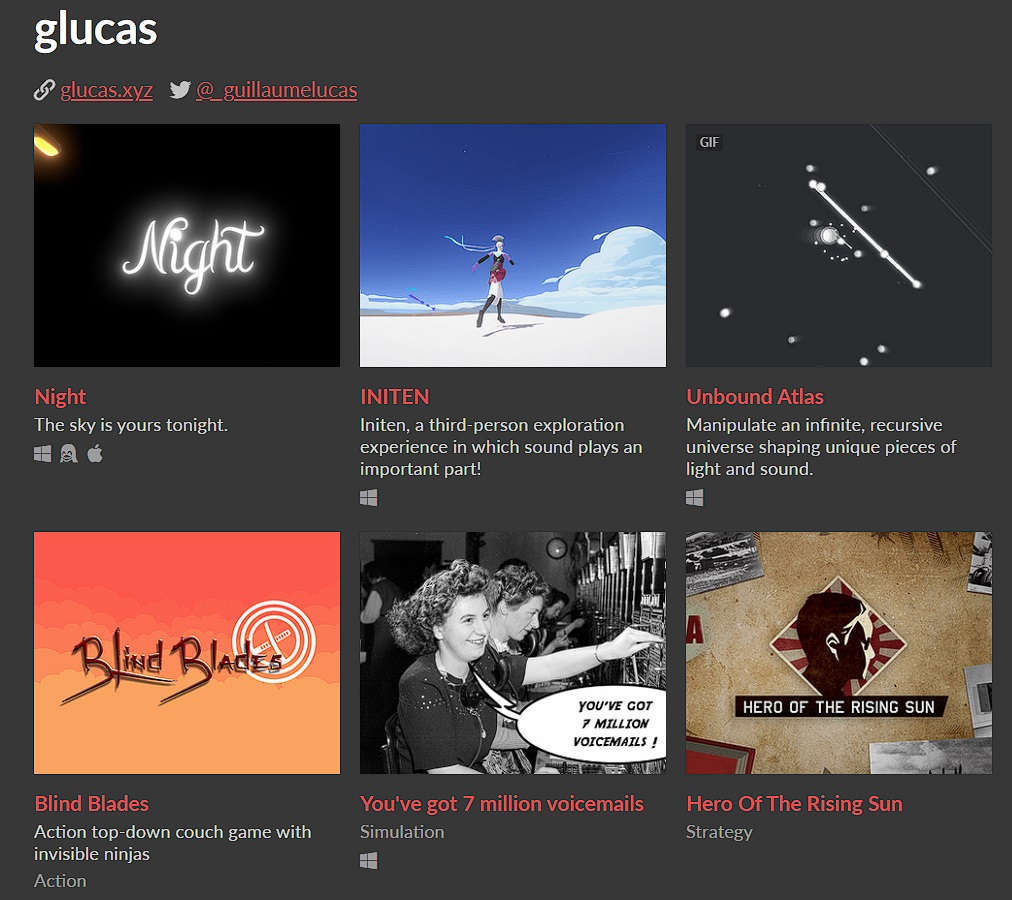
I’m planning to make this list bigger!
One last problem: Emails
I can deal with my websites being down for a few hours, or days. I can’t allow this to happen to my mailboxes. So, along with the domain name, those are the only paid service I’m getting from a company. I also had problems with delivering emails in the past and I saw setting up my own mail server not only as a challenge, but as a big risk I was not willing to take.
Learnings
- Installing your own webserver is not complicated thanks to online resources.
- Command lines are fast and thanks to SSH, it’s easy to administrate a system remotely.
- Delegating wisely is very efficient.
Summary of the steps I took
- Install Ubuntu server on a local machine.
- Install a webserver (Nginx) and create the configuration for the websites.
- Create local domains thanks to Pi-Hole (or a local domain name server).
- Migrate websites to the local webserver.
- Migrate domains to new registrar and set the records correctly.
- Install Certbot and get SSL certificates.
- Optional – Migrate emails to selected email provider.
- Build this website and write this article!
- Thank you for reading this whole post 🙂